This is a project I worked on for a course at CG Spectrum as my final exam for Foundations in Film and Games. I came up with the idea for this character back in 2016, and I sort of designated it as my “long con” project. I wanted to use it as a trickle meter to gauge my progress in learning 3D. A passion project I would return to and update with new skills and knowledge to push it further. This was exciting for me because I’ve never done something like this, all of my projects tend to be much shorter, or having a definite start and end. So being able to be passionate and push one thing over an extended period of time has been enjoyable.
I went through some drastic iteration from 2016 to 2017, and did MANY MANY 3D models.


In 2017 I realized I needed a name for this character. She’s inspired by roses and flower petals, and so I had a placeholder name in “Thorn”. But I felt like it was too on the nose, and a little too plain. Doing research into names I found Rufina, which means “the woman with the red hair” and I felt like that had some “Ooh” and “Aah” to it. This character is a bit of a silent protagonist to me, and so I felt like that nature added up for her.
The scarf around her is meant to be the “flower petal” part of the whole rose inspiration. In the 1st design, I felt like the scarf should be red. But later I realized that roses could be many different colors. and I didn’t like how matchy the first design was. Red, then blue-green, then red… it repeated too much. I went with a white rose for the scarf (or yellow rose if you want to be literal) and it just fit. Her color scheme made sense to me as a red, yellow and blue color scheme, like the primary colors. Also made her rope belt darker to vary the values and give her a more stealthy look.
The scarves are meant to twist and float about adding secondary action animation to her movement with physics. I had the idea that she could transform into some kind of dragon creature using the tattoo on her arm, and that she would corkscrew as the scarves wrapped around her and she would metamorph into the dragon that way.
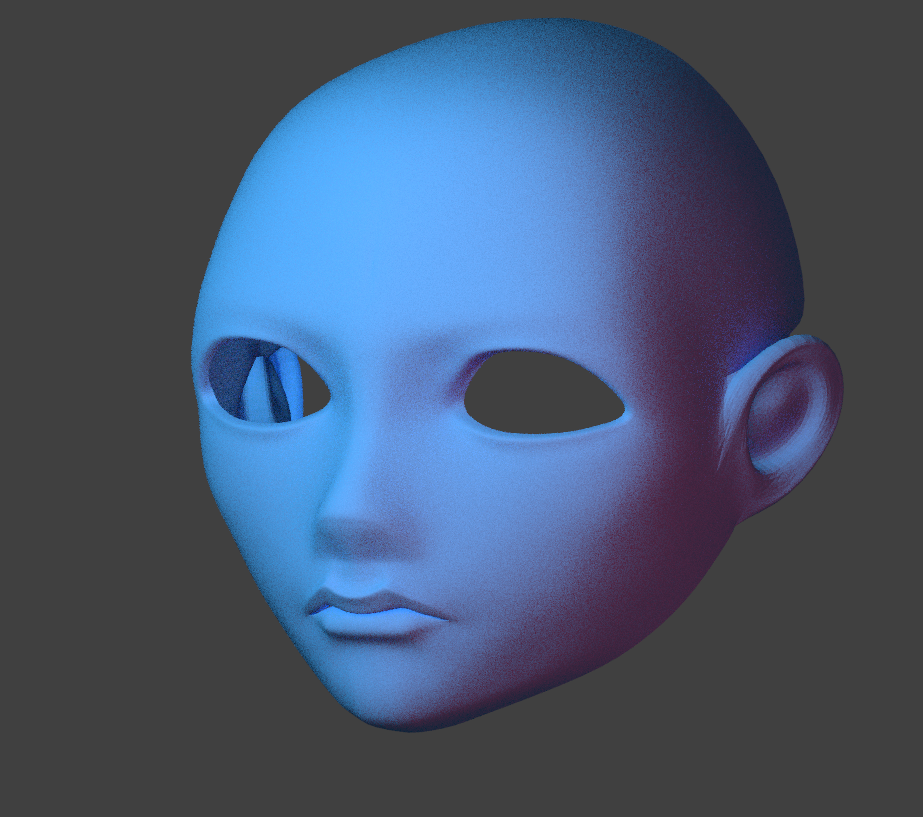
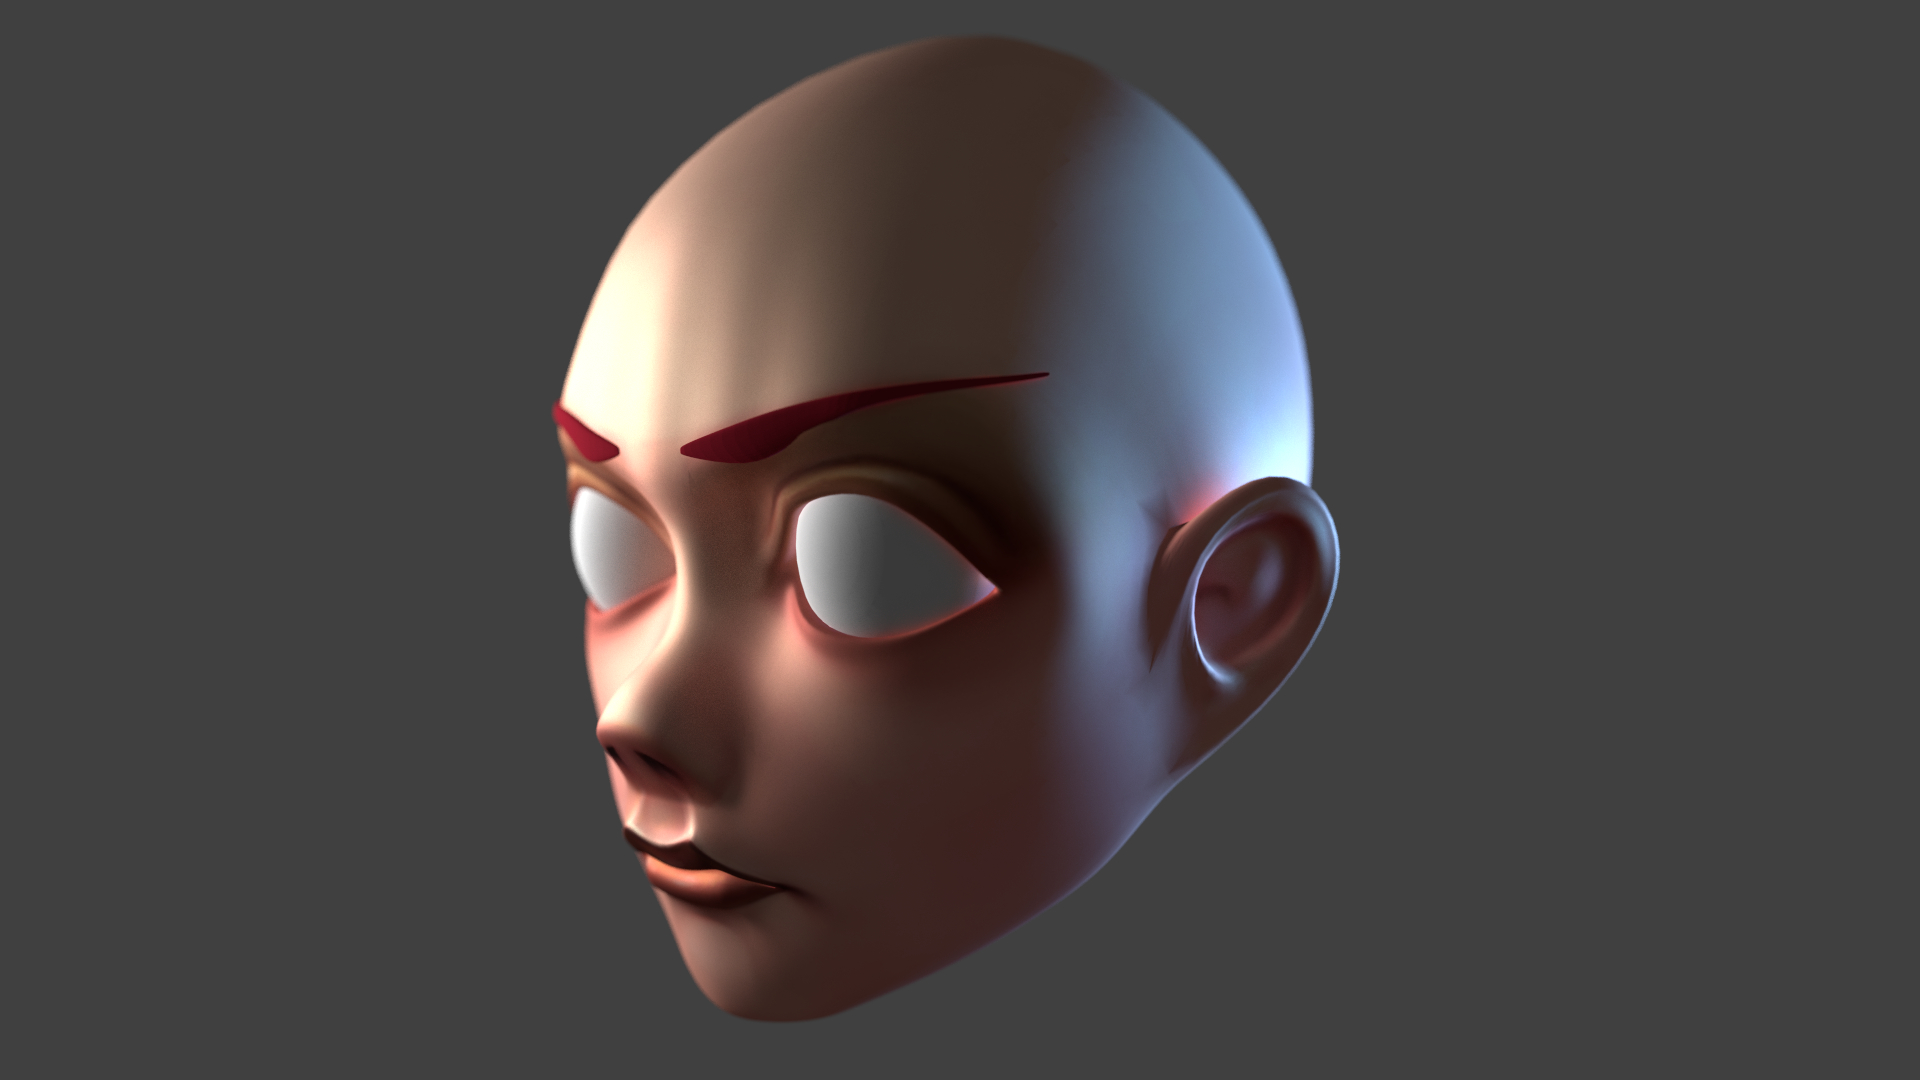
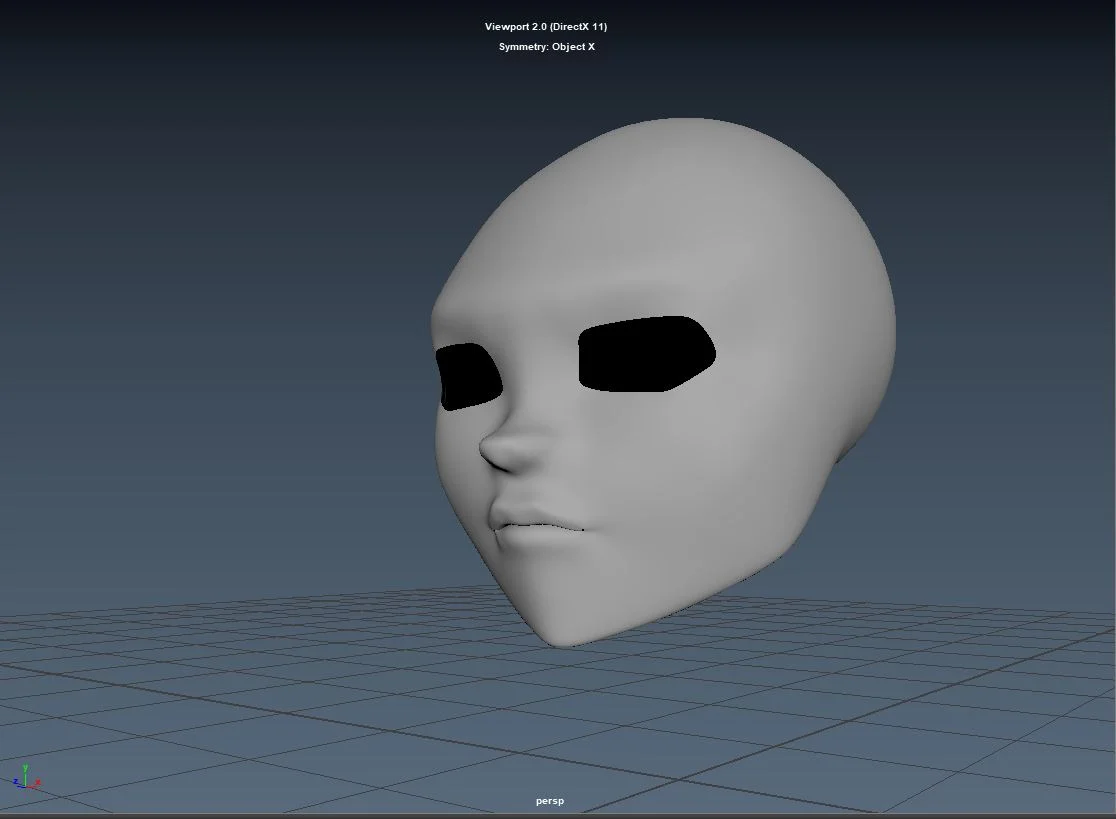


I probably modelled this character’s head maybe 4, 5 times. I did it in blender, Maya, I retopo’d in maya, I retopo’d in blender, I retopo’d in TopoGun. It was crazy. However, this is when I discovered I wanted the character to look a lot different. When I made the first version with color and hair I had a lingering thought that I should revisit the design and make it sleeker, and that’s how I came to the 2nd and 3rd versions. I still struggled with modelling it, the face shapes just didn’t really feel right. One day I decided to try and model faster in Zbrush, so I was thinking of doing a sculpt in 30 minutes. But instead of picking something random I said “screw it” and decided to try and knock out this character. And that was the version I ended up using for the final product in Unreal!


I ended up scrapping the Sculpted hair and went with hair cards. I created tubes and alternated shifting the edges to make the curly-esque hair look. I told people it’s sort of like curled up cooked bacon. After this was rigging, which I got some great pointers from my rigging friend Nicholas Harvey. In Unreal Engine, I followed a great tutorial from Ray Wenderlich to get that working. I wanted the character to be cel shaded, while the background was PBR rendered. Sort of like how Breath of the Wild looks.


I actually forgot until I looked at these progress pictures, I did some tweaking on the materials. To match the hue shifted colors on the edges in the artwork, I created some fresnel effects that added color to normals facing away from the camera. That helped the bright yellow scarf stick out a bit more and create better depth when comparing surfaces right next to each other.
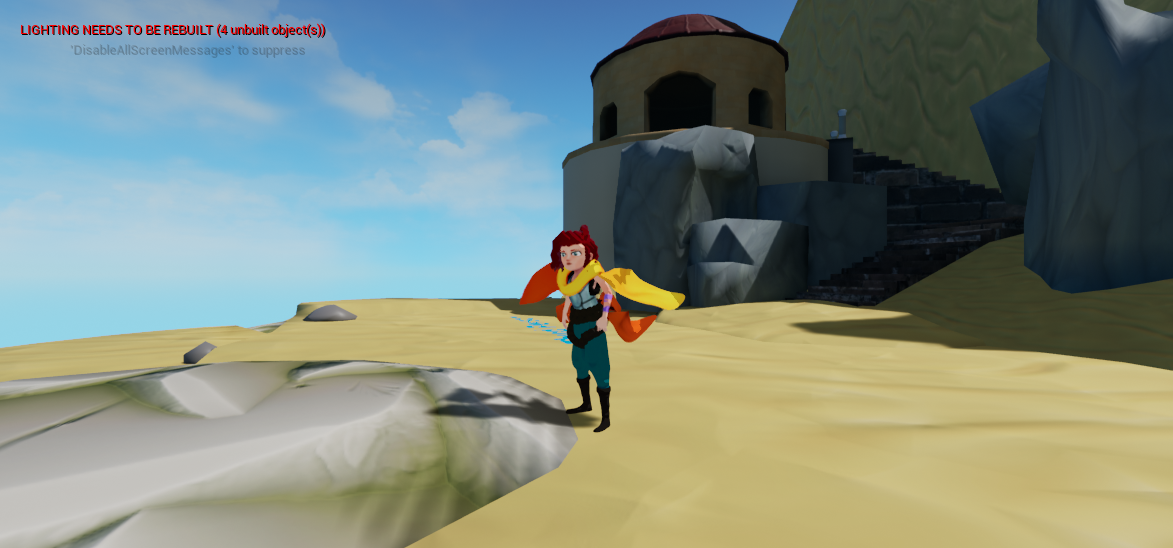
I used Unreal Engine’s physics to create a low gravity simulation for the top hair strand on her head, as well as the scarves. This adds that secondary movement I talked about and also allows for passive floating animation while she’s idle.
To save time, I just used the default bone hierarchy for the third person level in Unreal and replaced the model with my character. So her walking animation is a little janky.
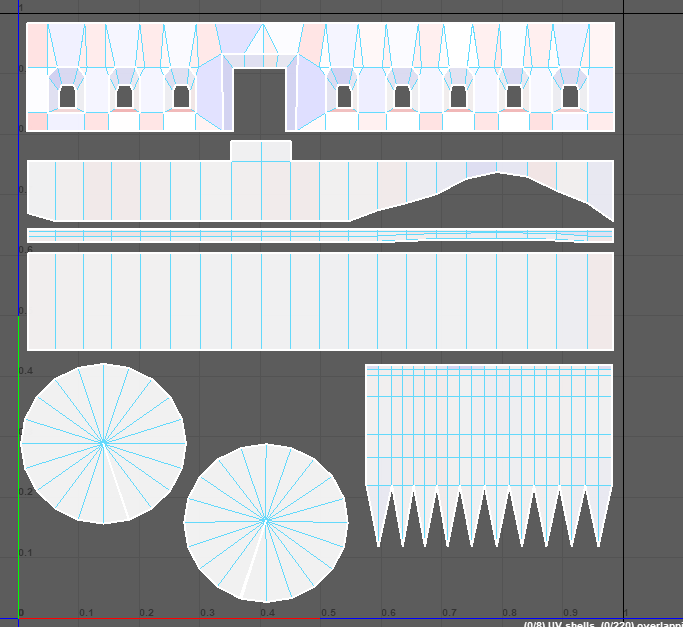
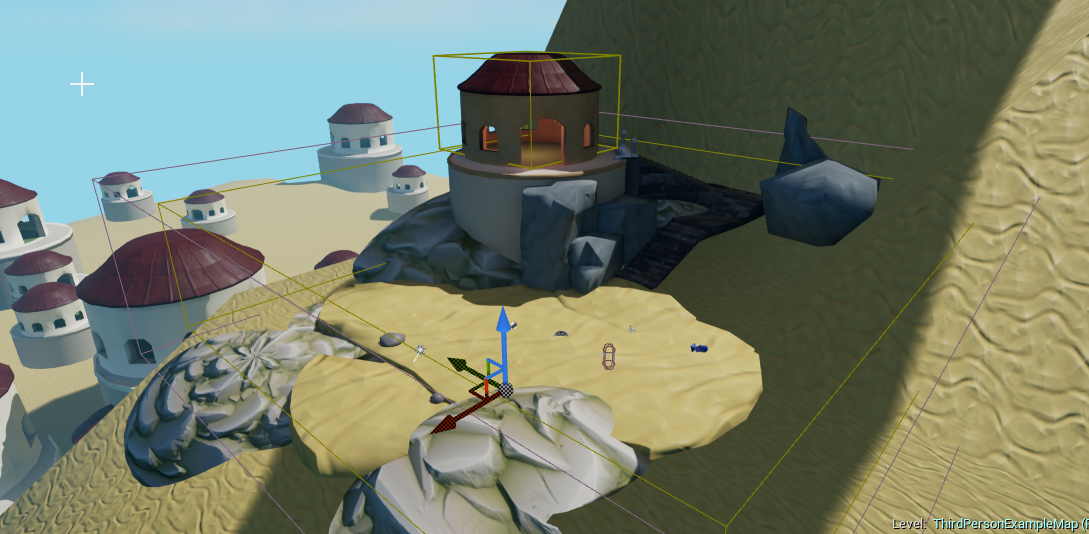
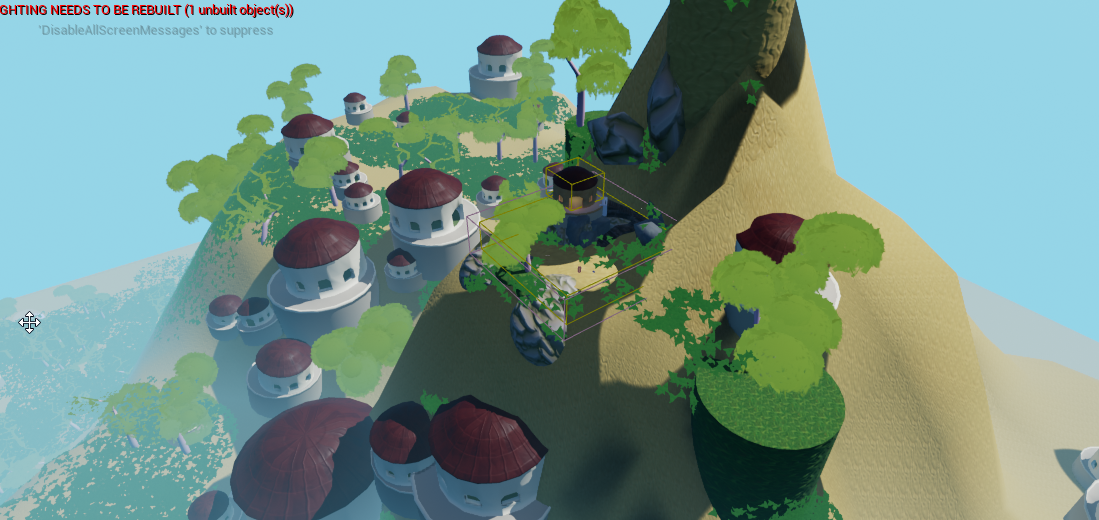
Then I created a quick level for her to walk around in. I used some materials and textures off substance share, created a few of my own as my first foray into Substance Designer. Then I learned how to use the foliage system in Unreal to paint instances of trees, rocks and buildings to fill the environment. After that I created a skybox, added some fog. Then I matched the clouds I painted in the skybox by creating a cloud model in Zbrush, decimating it down to around 1K polys and running the cel shader material on it. Then I used a color LUT to make the shadows of the cloud pink to match the skybox style. Now I had parallax clouds in the mid ground!
The overall art direction is inspired by Mongolia, Kazahkstan and Chinese mountains and cliffs (you know the ones that ends up in all the paintings or Kung Fu Panda). I based the building on a segment from Hagia Sophia.

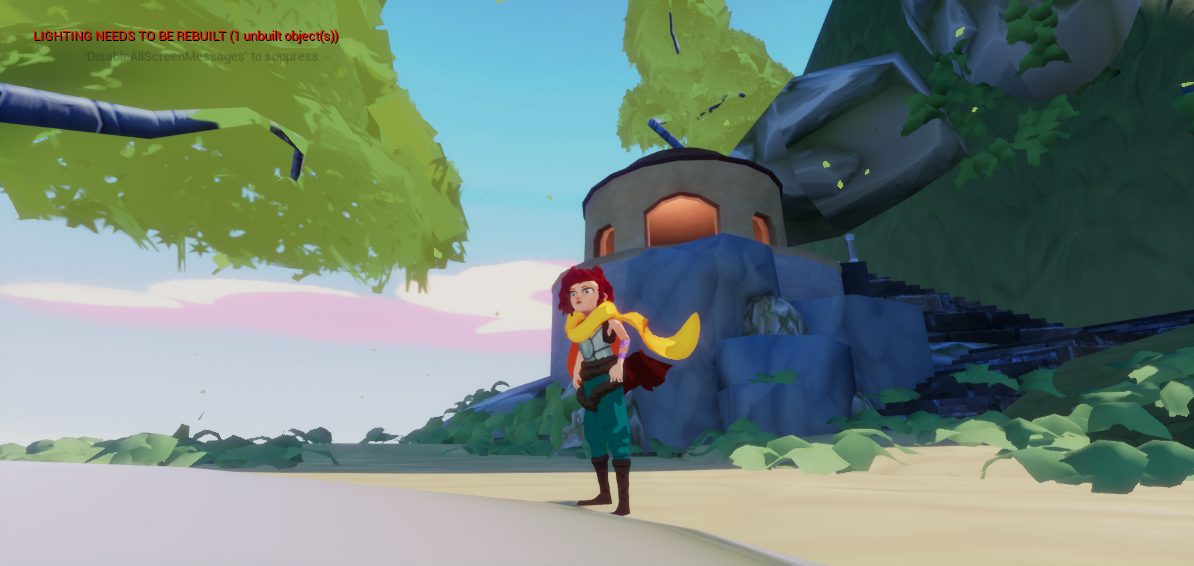
And finally, I created a final video using Unreal Engines cinematic editor. I probably also was heavily inspired by the zoom out shot in the Breath of the Wild trailer, since the ending of my video sort of looks like that. It is cool though!
I’m not finished with this idea yet, just this project for now. I still hope to make a full playable game out of this character, and I’m excited to explore the world and see how far I can take it. Really keen on some gameplay ideas, as soon as I can buckle down and learn how to program with the blueprint editor!
Big thanks to CG Spectrum and Steve Hubbard, my mentor, for giving me advice, friendship and a very valuable learning experience.